Tensile testing in the laboratory – determining plastic deformability and elongation

Ductility of Metals

Tensile testing in the laboratory – determining plastic deformability and elongation

Request now
  • Elongation & uniform elongation according to standards
  • Stress-Strain Diagram with Rp0.2/Re/Rm
  • Accredited according to DIN EN ISO/IEC 17025
  • Fast results & clear test report

Material Behavior

Ductility – what does it mean?

Stress-strain diagram of a tensile test

Stress-strain diagram

Ductility describes the ability of a material to undergo plastic deformation under load without immediately breaking. While untreated glass fails in a brittle manner (almost no deformation), many steels can elongate more than 25 % before fracture. In safety-relevant applications – e.g. in construction – ductility is crucial because failure is indicated by visible deformation.

Previously, ductility was synonymous with forgeability: ductile materials can be easily cold formed (bending, drawing). Today, ductility is described more precisely in the context of mechanical material properties via standardized tests, foremost the tensile test.

Ductility measurement: main test methods
  • Tensile test – provides elongation A, uniform elongation Ag, yield strength Rp0.2/Re, and tensile strength Rm. Based on the stress-strain diagram.
  • Charpy impact test – determines the toughness or impact energy of the material, especially relevant for brittle behavior at low temperatures. More under Charpy impact test.
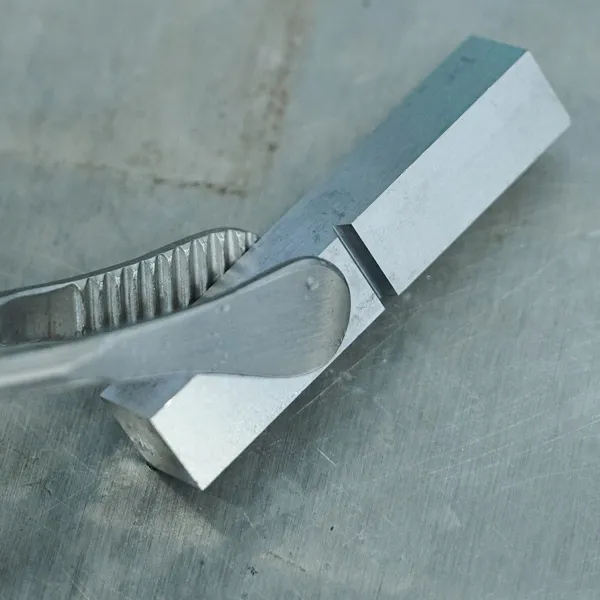
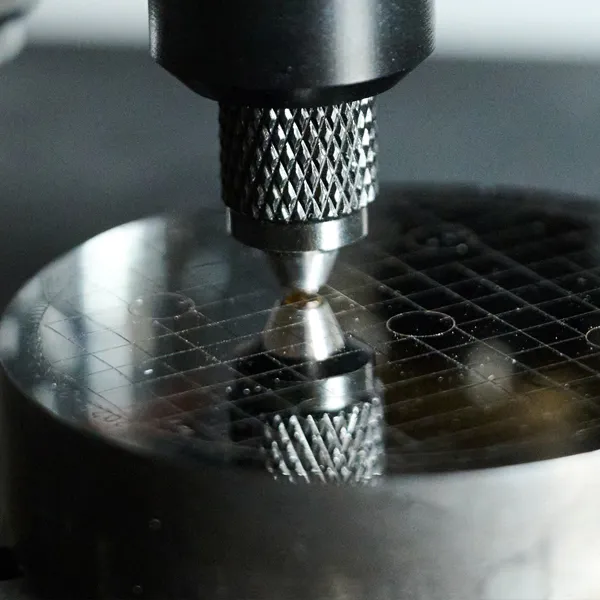
  • Hardness test – complements the assessment of plastic deformability indirectly. Methods: Vickers, Brinell, Rockwell, Leeb/UCI.
Brittle vs. ductile materials

Non-ductile (brittle) materials have a fracture elongation < 10 % and almost no plastic deformation capacity. For them, the compression test is often more informative, as no high elasticity or yield strength is expected. Ductile materials exhibit significant plastic deformation and warn before failure.

Stress-strain diagram

The stress-strain diagram visualizes the behavior of a tensile specimen: linear-elastic region, yield strength (Rp0.2/Re), uniform elongation (Ag), tensile strength (Rm), and total extension until fracture (A). From it, we derive key values for design, quality assurance, and acceptance.

Related Test Methods

The laboratory meets the requirements of DIN EN ISO/IEC 17025.

FAQ

Frequently Asked Questions

What is Zeros GmbH?

Zeros GmbH is an independent testing laboratory for destructive and non-destructive materials testing. We support companies from incoming inspection to series release – including digital test reports and full traceability.

We operate under accreditation to DIN EN ISO/IEC 17025 (quality management for laboratories). See our current accreditation information here.

Which standards is Zeros GmbH accredited to?

We are accredited by DAkkS to DIN EN ISO/IEC 17025. This standard ensures that test methods, equipment control, personnel qualification and reporting meet the highest requirements.

An overview of services and scopes is available on our homepage.

What services does Zeros GmbH offer?

Our portfolio covers NDT (UT, RT, MT, PT, VT), mechanical testing (tensile, hardness, Charpy), metallography (microstructure, grain size, coating thickness) and chemical analysis (e.g. OES, XRF). We also provide specimen preparation, documentation and consulting.

How can I use Zeros GmbH's services?

Please contact us by email or use the contact option on the website. Share material, standard/specification and quantity – we'll get back to you promptly with a solution.

Ductility in Practice: Test Procedure & Evaluation

Schematic representation of a tensile test
Technical Background

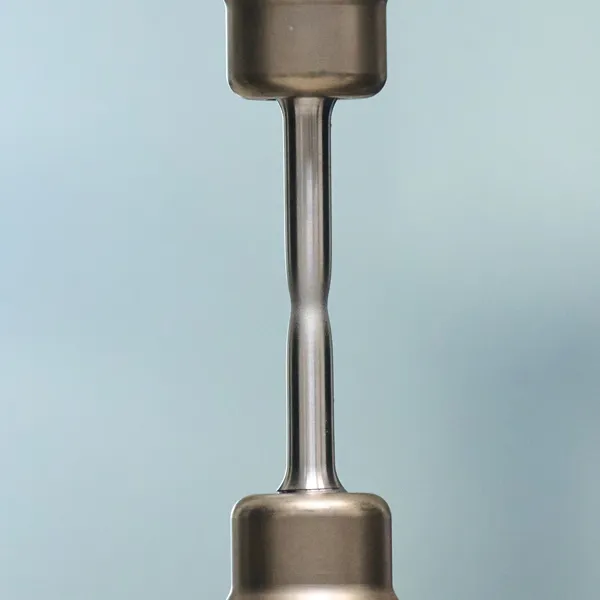
In the tensile test, a standardized specimen is loaded until it breaks. We continuously record force and elongation, determine the stress-strain diagram, and calculate all key values (Rp0.2/Re, Rm, Ag, A). Optionally with photo documentation of the fracture surface and temperature control according to standards.

  1. Step 1 – Samples & Identification

    Manufacture/receipt of standardized specimens, unique ID, set measurement length (Lo).

  2. Step 2 – Testing

    Time-strain rates & test speed according to standards, continuous recording, optional extensometer.

  3. Step 3 – Evaluation

    Determination of Re/Rp0.2, Rm, Ag, A; diagram and limit value assessment in the test report.

  4. Step 4 – Supplementary Tests

    For brittle behavior: Charpy impact test. For case hardening and gradients: hardness testing.

We advise you on selecting the appropriate test program and deliver reliable results for your quality assurance – fast, transparent, and accredited.