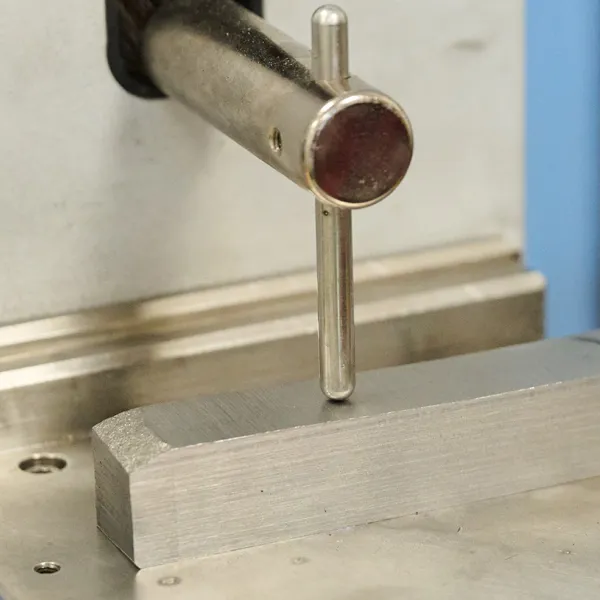
Destructive testing to determine the toughness of metallic materials

Charpy Impact Test

Destructive testing to determine the toughness of metallic materials

Request now
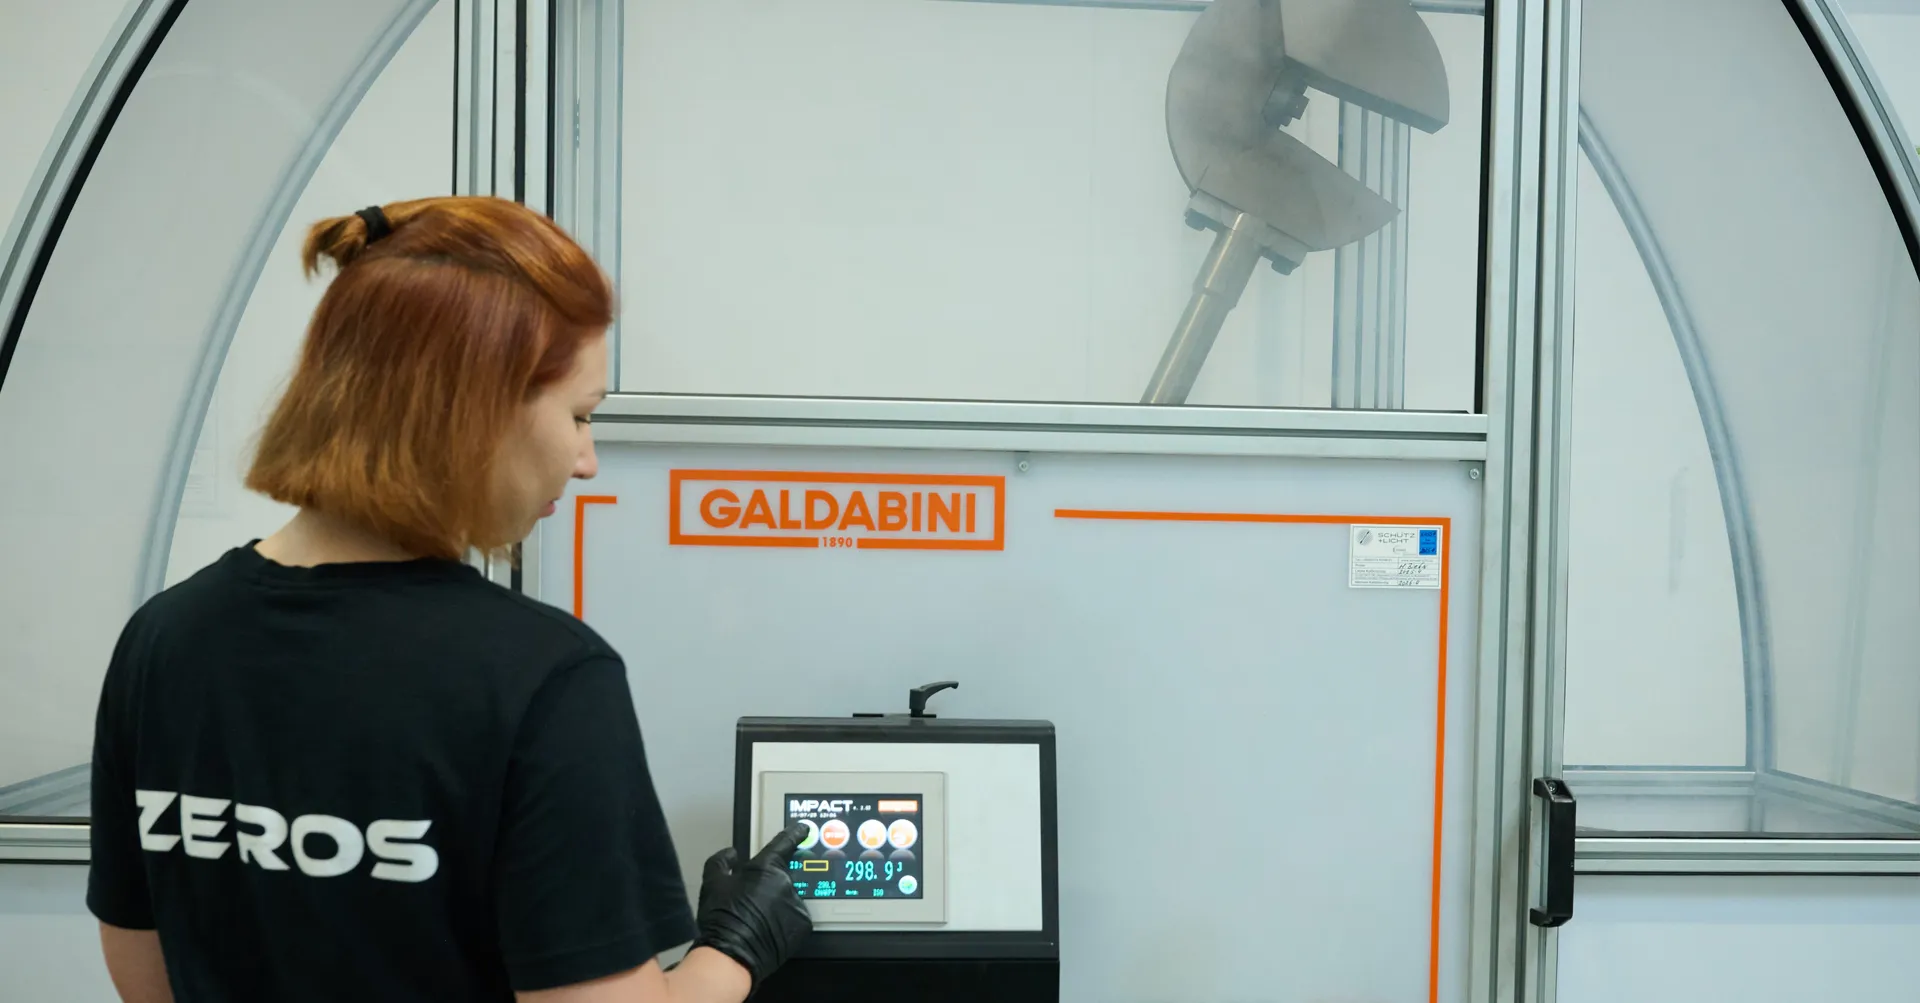
  • Pendulum impact tester 300 Joules
  • V-notch broaching machine
  • Temperature unit RT to -60 °C
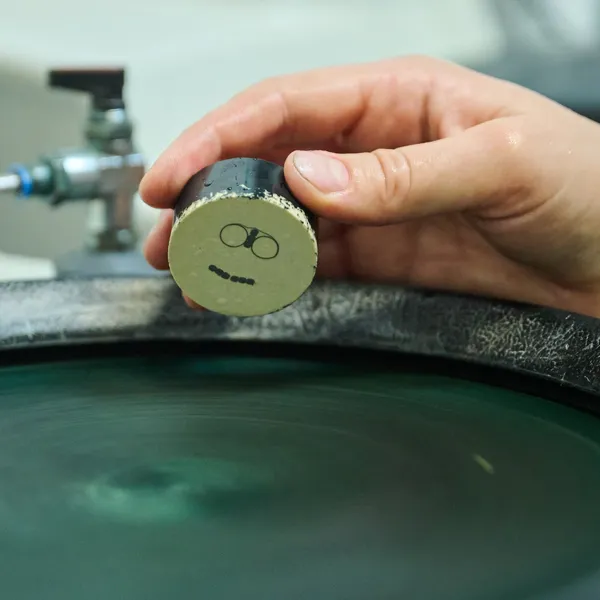
  • Mechanical specimen preparation
  • DAkkS accredited

Destructive Material Testing

Charpy Impact Test – Method & Application

Charpy test specimens with U or V notch

U & V Charpy specimens

The Charpy impact test is a destructive testing method used to determine the toughness and brittle fracture behavior of metallic materials. A standardized, notched specimen is struck with a pendulum hammer until it breaks. The absorbed impact energy is measured, allowing conclusions about the material behavior at different temperatures.

Our testing laboratory is equipped with a 300 J pendulum impact tester, a V-notch broaching machine, and a temperature unit ranging from room temperature to -60 °C. Suitable specimens are prepared in our in-house specimen preparation facility.

Norms & Accreditations
  • DIN EN ISO 148-1:2017-05 – Metallic materials – Charpy pendulum impact test – Part 1: Test method
  • DIN EN ISO 9016:2013-02 – Destructive tests on welds in metallic materials – Impact tests – Test specimen location, notch orientation and examination
  • DIN EN ISO 9017:2018-04 – Destructive tests on welds in metallic materials – Fracture test
  • DAkkS accredited & TÜV certified
Typical Applications
  • Testing of weld seams
  • Quality control of castings and forgings
  • Single and series testing
  • Determination of transition temperature (brittle-ductile)

Related Test Methods

Verfahren & Methoden 

Accredited according to DIN EN ISO/IEC 17025.

FAQ

Frequently Asked Questions

What is Zeros GmbH?

Zeros GmbH is an independent testing laboratory for destructive and non-destructive materials testing. We support companies from incoming inspection to series release – including digital test reports and full traceability.

We operate under accreditation to DIN EN ISO/IEC 17025 (quality management for laboratories). See our current accreditation information here.

Which standards is Zeros GmbH accredited to?

We are accredited by DAkkS to DIN EN ISO/IEC 17025. This standard ensures that test methods, equipment control, personnel qualification and reporting meet the highest requirements.

An overview of services and scopes is available on our homepage.

What services does Zeros GmbH offer?

Our portfolio covers NDT (UT, RT, MT, PT, VT), mechanical testing (tensile, hardness, Charpy), metallography (microstructure, grain size, coating thickness) and chemical analysis (e.g. OES, XRF). We also provide specimen preparation, documentation and consulting.

How can I use Zeros GmbH's services?

Please contact us by email or use the contact option on the website. Share material, standard/specification and quantity – we'll get back to you promptly with a solution.

How the Charpy Impact Test Works

Schematic representation of a Charpy impact test

In the test, the pendulum hammer strikes the specimen at its lowest point at the notch. Part of the impact energy is used to fracture the specimen – this impact energy (in joules) is measured. From the results, the tendency to brittle fracture, toughness, and temperature dependence can be derived.

The temperature dependence is particularly pronounced in steels with a body-centered cubic (bcc) crystal structure: within a narrow temperature range, the impact energy drops sharply from high to very low values. By tempering (± 0.2 °C), we can precisely determine the transition temperature.

The specimens are manufactured according to DIN EN ISO 148-1 and prepared in the laboratory with a V-notch. This ensures reproducible and standardized results.